- After editing the document in Lumin, select the Signature tool from the Popular or Fill & Sign category. Under Signature Request, click Secure Sign.
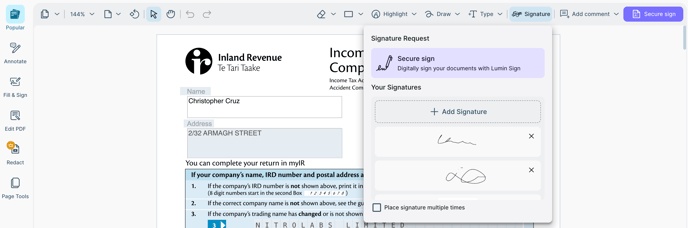
- You will be taken to the Lumin Sign signature collection flow.
- Invite people to sign - click Add Signer. You may add as many signers as required, and they all will be sent an email to sign this document.

-
- If you don't need to sign it, change your role as a Viewer by clicking this button:
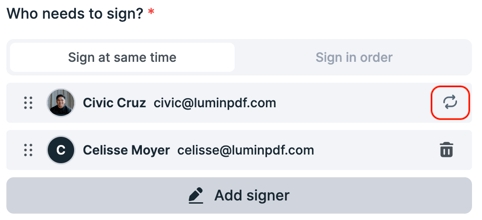
- If you don't need to sign it, change your role as a Viewer by clicking this button:
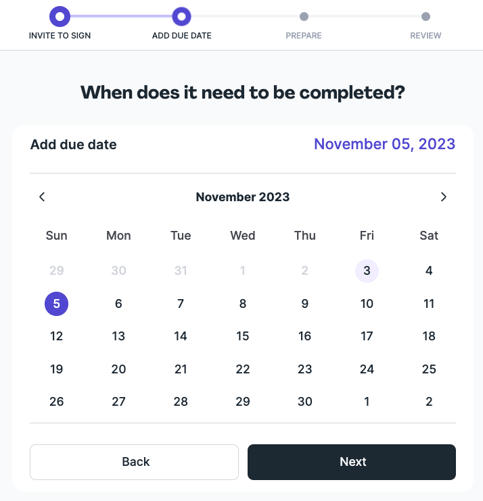
- Specify a deadline for signing this document, then click Next.
- Next, you will need to prepare the document and indicate which specific field needs to be signed by each individual.
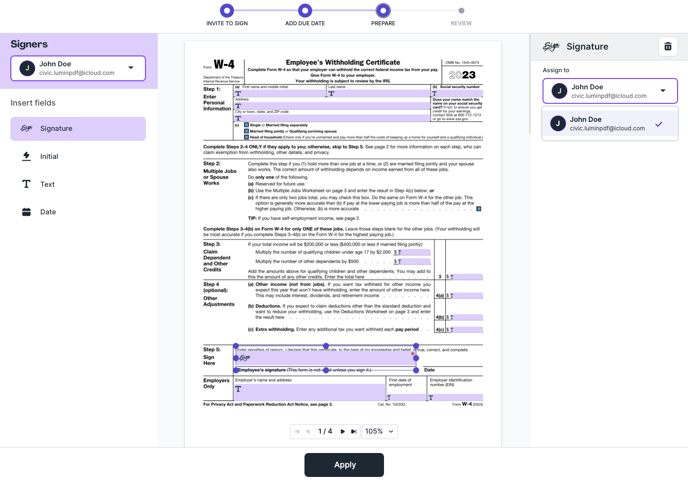
- Then, click Apply and proceed by clicking Next.
- Review the document and then hit Send.
-
English