NOTE: The Edit PDF tool is specifically designed to work with PDF files. Please note, this feature will only be visible in the editor if you are trying to edit a PDF file. If the file you're working with is not a PDF (for example, a .docx file), you will not see this option.
Importance of Editing PDFs:
Editing PDFs is important for ensuring accuracy, reducing waste, and improving collaboration and communication. It allows you to make necessary changes quickly and efficiently, saving time and improving productivity.
Scenario:
Josie was a property manager at a busy real estate firm. She was responsible for managing several properties and ensuring that all the necessary documentation was in order. One day, she received a notice that affected one of the properties she managed.
The notice was in the form of a PDF document, and it contained several pages of sensitive information, including maps and diagrams. Josie knew she needed to review the documents; correct any errors, update information, and make any annotations on the document before sharing it with her team.
Initially, Josie thought about printing out the document and making the necessary notes by hand. However, she realized that doing so would be time-consuming and wasteful. Instead, she decided to use her Lumin PDF to make the necessary changes.
This walkthrough demonstrates the following tasks:
- How to edit raw PDF?
- How to redact part of your document?
- How to use the highlight tool.
- How to move pages.
While reviewing one of the documents, Josie found that some spelling errors needed to be corrected. Thankfully, Lumin's new Edit PDF tool enables her to do just that.
Here are the steps Josie took to edit the document:
- Upload or Open the document you want to edit.
- Select the Edit PDF tool.

- A warning message will pop up; if you're happy to proceed, click Confirm.
- Ensure that the 'select' arrow tool is selected. Click the section you want to edit, then, click the 'edit text' tool - the pencil icon, to start editing your PDF.

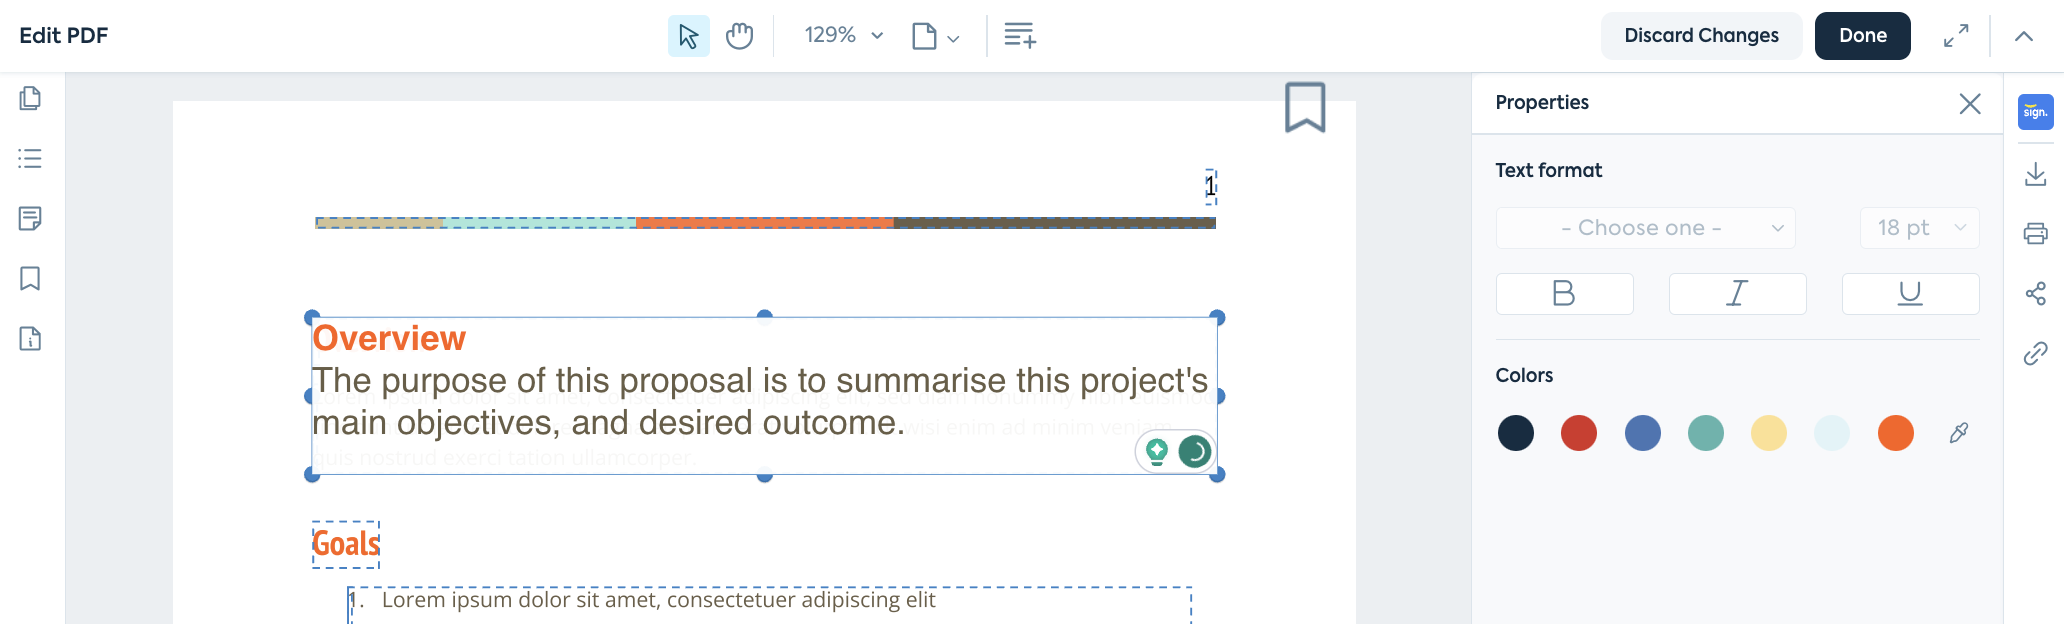
- The text view will change, and you can start editing the text inside the text box.
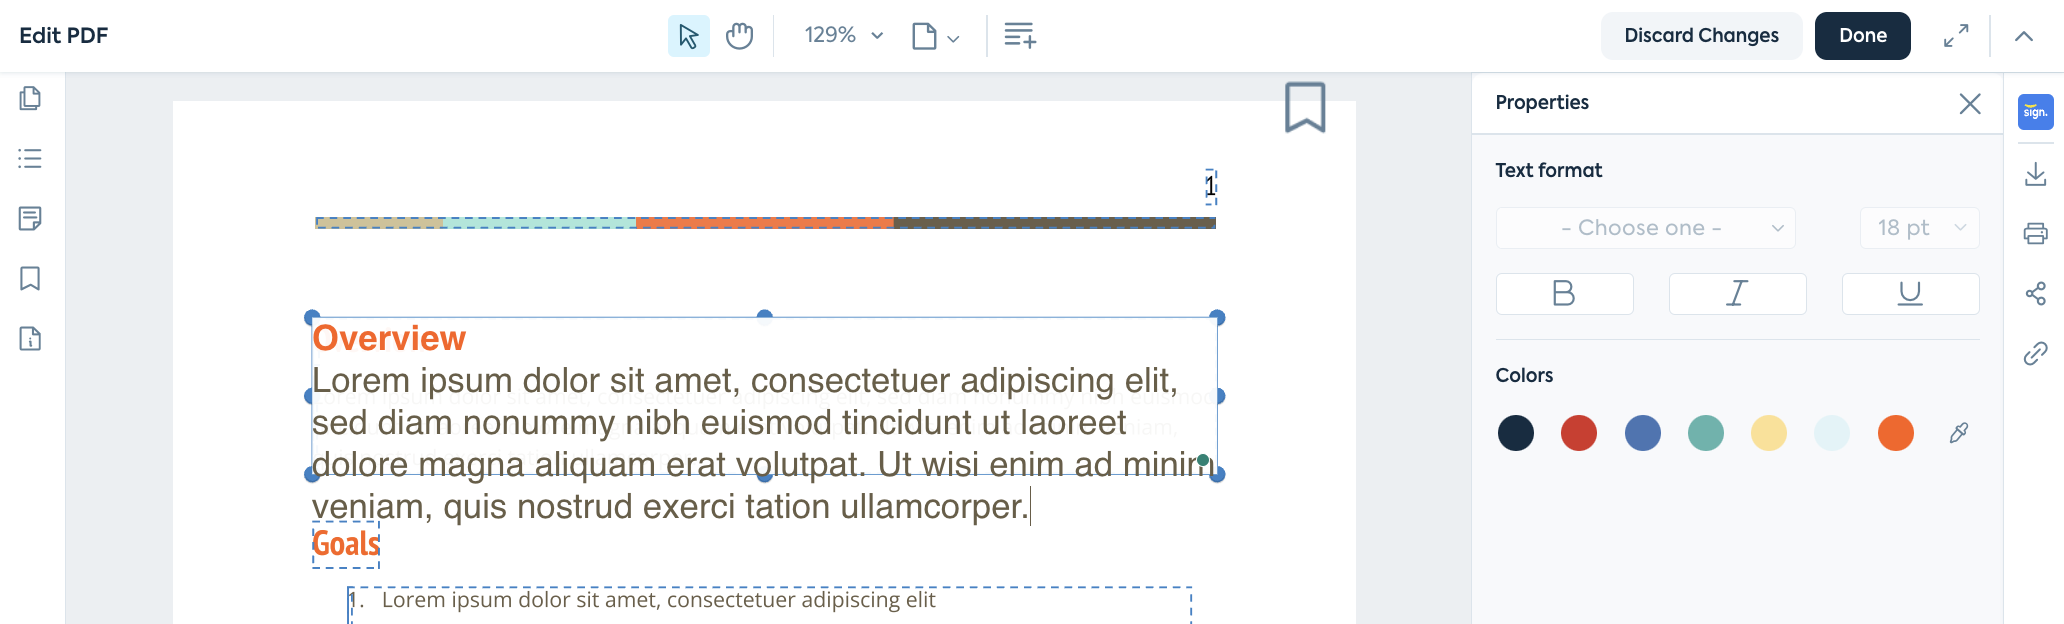
- Lumin will match the new text to the closest font family, however, you may also change the font by selecting the new one under the Text Format section on the right.
- Under Text Format, you may also change the style and colors.
- When you're done, you can click anywhere in the document.
- Leave edit mode by clicking Done.

- You can now share, print, or download your document.
Whilst she was proofreading the document before sharing it with the rest of the team, she also noticed that there was some sensitive information in the document that not everybody should be privy to. Josie used Lumin's redaction tool to ensure that the information is not shared with the wider group.
Here are the steps Josie took to redact part of the notice:
- Open the file you wish to make changes on.
- Select the Redact
 tool.
tool. - Highlight the area you wish to redact by clicking and dragging on top of the text.
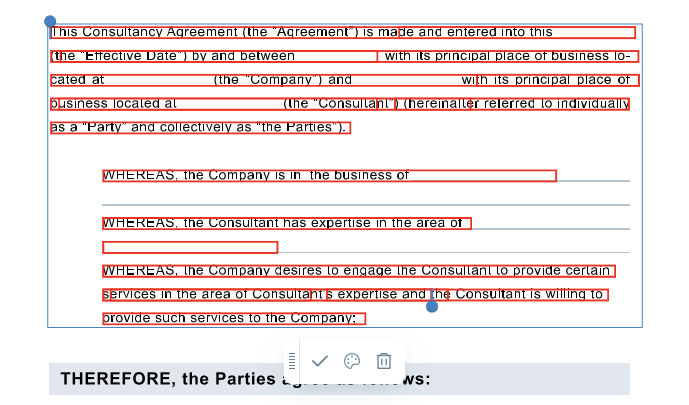
- Then click the tick ✔️ on the toolbar underneath.
- A message will pop up confirming the action. Hit Apply.
- Once the editor loads, it will redact the area you've selected.
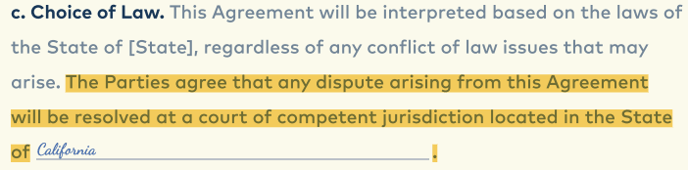
Josie opened the PDF document in her editor and started adding comments and annotations. Using Lumin's tools, she highlighted the relevant sections of the document and added notes to clarify the information. She also added bookmarks to important pages and organized the document for easy navigation.
Here are the steps Josie took to highlight the document:
- Select the Highlight
 option on the toolbar.
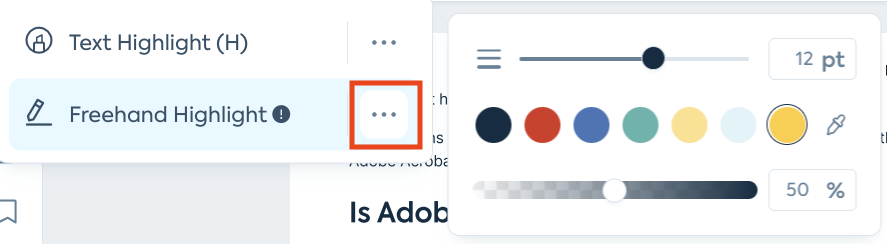
- Choose between Text Highlight or Freehand Highlight.
- Text Highlight: automatically recognizes text, and highlights them neatly.
- Freehand Highlight: follows the way your cursor is dragged. This works well with scanned images.
- Select your desired color from the menu button.
- Drag your cursor along the text you want to highlight.
Finally, Josie noted that a couple of the pages were not in the right order. She used Lumin's tools to move the pages to finally get them ready to share with the wider team.
Here are the steps Josie took to move the pages:
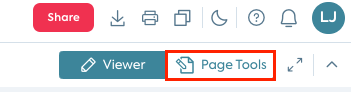
- Click Page Tools in the document toolbar.
- Select the Move page.
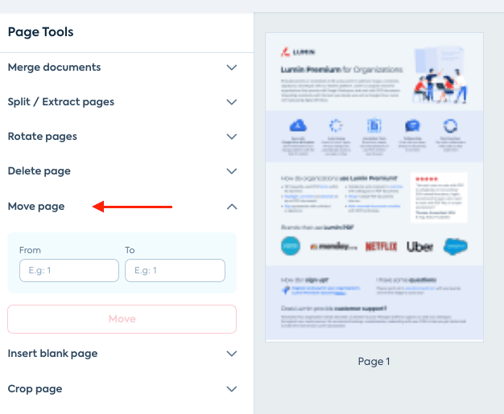
- Enter the page number to move (From) and the page number you want to move it to (To).
- Click Move.